Monday 28 January 2019

Picking up where we left off...

Burn's Night weekend is over, tartan was worn, haggis and copious amounts of scotch consumed. Then my dissertation proposal paper returned from my advisor. This past week I have been struggling through the writing process in the mornings, and have treat myself to an hour or so of studio time each day in the afternoons. The gown has taken me all week or so to finish, but now it's done.

I picked up by stitching the pleats into place, and the side back seam on both the fashion layer and the lining.


I had originally thought to include the front lining in that side back seam, which would help with some structural support. I quickly realized that the back lining would be a better choice to include with the fashion layer as support, in that it would lay more smoothly in the end with the front lining covering the finished seam. Yes, I still have to use my seam ripper from time to time as I work through the process. The seam was stitched with a running back stitch and strong thread.

This is the inside of the finished fashion layer seam, the front lining pushed out of the way so it wouldn't get accidently caught. I then folded the seam allowance of the lining under, and whip stitched it down the side back seam and along the waist seam until the front waist dart.

Then, I took apart the sleeves from mum's bodice. I knew they would be too short for me, and likely were the wrong shape, as I had originally made this gown back in the early 1990s when I didn't know how to make or stitch in an eighteenth-century sleeve. I made a modern one piece sleeve instead. You can see in this photo how very different the modern sleeve is from a historical sleeve.
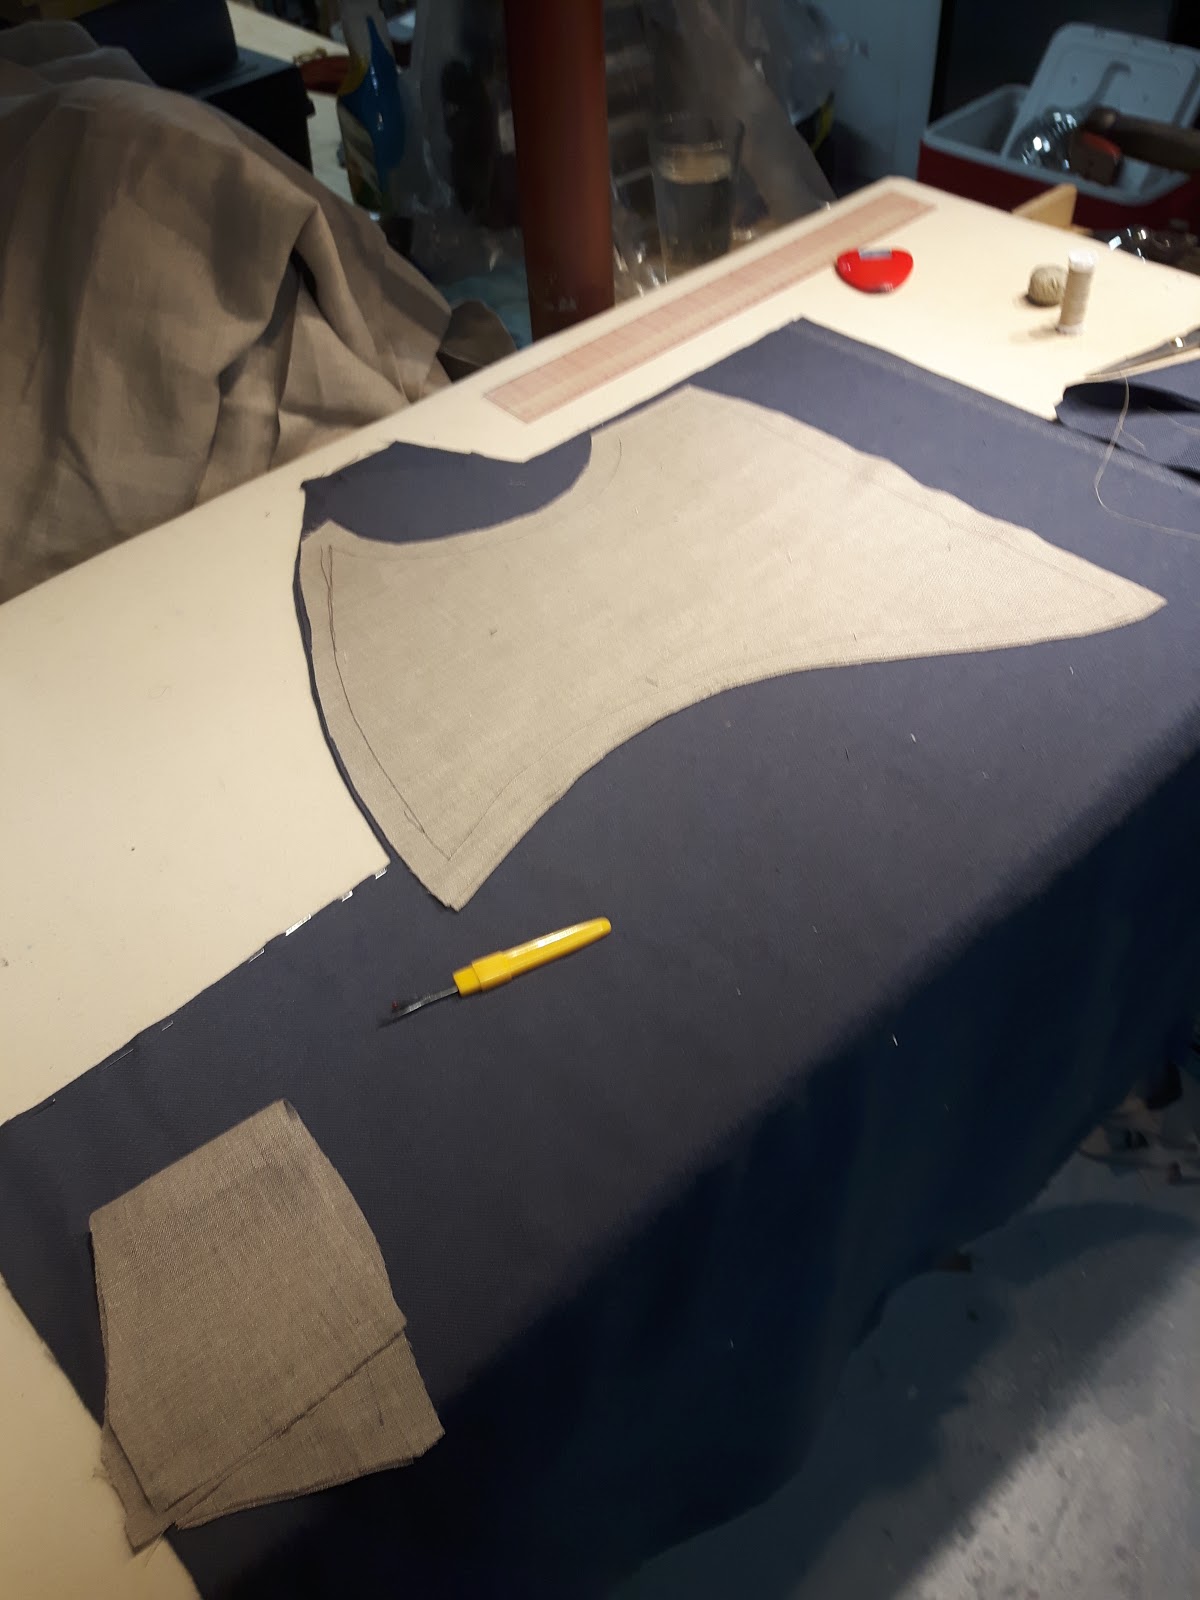
This sleeve is from Fitting and Proper, page 9. You can see that the shape of the armscye is different than the one I cut originally. Number one reason why it is always a good idea to have your reference books out on your work bench as you create. This armscye difference is important when you set the sleeve. A modern armscye won't work.

So I ended up piecing the sleeve heavily from the scraps left over from the old bodice of the gown. The two sleeves are even pieced differently from each other, as the scraps I was working with were quite small at this point. I rebuilt the sleeves and then re-attached the original cuff. In the end, they are substantially longer, so cover my elbows, and narrower through the upper arm.

They now are matching in length and width and fit me.

Onto setting the sleeve, remember what that armscye looks like (the top edge of the sleeve), look for the point 'A' referenced in Sharon Burnston's pattern. This is the single most important point on the sleeve. No matter left or right, it is the starting point to setting the sleeve. Match this point with the back shoulder seam point, here...
I match that point, then working the underarm first, I match right sides together in a big sandwich of all the layers, lining of sleeve, fashion fabric of sleeve right sides together with fashion fabric of bodice, and bodice lining. Yes there will be raw edges. They will be dealt with later.
Once you have pinned all the way around to the front armscye joint, just before the shoulder strap starts, you can stitch this bit in place using a running back stitch and strong thread. I have gotten to the point where I pin the whole sleeve in, and then stich though. When learning, it might be easier to stitch in steps.

The top of the sleeve then gets eased into the shoulder strap, pushing the fashion layer out of the way and just stitching sleeve head to strap lining. You need the ease on the top of your shoulder to accommodate that bone at the top of your arm, but also the rounding of the top of your arm. If you do not include any ease here, the bodice of your gown will pull off your body. There's no getting around it. SLEEVES NEED EASE!
I pin the ease in place, and then pleat the excess into one or two pleats at the top back of the sleeve head, just where the sleeve joins the back shoulder seam of the bodice. To sew the top of the shoulder in place, I use a running back stitch, pulling back on the thread to ease in the sleeve head as I sew. You could also run an easing stitch along the sleeve head prior to setting the sleeve, if you need more control.

Once the sleeve is stitched in place, the fashion layer of the shoulder is folded over the top of the sleeve head and stitched down. I then return to the inside of the armscye, and whip stitch the layers together. This gown will never be washed. Most living history garments are rarely laundered, outside shirts, shifts and stockings. If I were making this gown for theatre, I might bias bind the armscye, but it's really overkill and just adds bulk. Trim your seam allowances nicely, and then just whip everything together. The top of the sleeve head will be between the layers of strap, with just the seam allowance of the strap lining showing at this point.
Here is my finished gown, hemmed and everything. I measured the fabric used to be 2metres of 60"wide straight cloth from skirts of mum's gown, the sleeves left over from the gown, and the bodice cut into scraps for piecing.  Here are my little piles of what is left over.
This was an exercise in rebuilding a gown from a finite amount of cloth. The rest of the original cloth was re-homed decades ago, so I had to be careful with this gown. The finished gown will be about knee length, and will be worn with a wool petticoat of another cloth, likely also one of mum's old pieces. The remaining scraps of wool cloth are now in the trash, the linen from the lining will be used to make char cloth for fire starting. And I have another new piece of clothing from the mid century period that I will wear for years to come. I am also working through proper construction notes to be included in my dissertation so that other folk can build historically correct gowns in the future, and you won't make the same mistakes I did back in the early 1990s.

Next up, Men's suits!


Wednesday 16 January 2019

what I do when there's a lack of extant evidence in a particular small period of costume history: new sacque construction.

I am not alone, researchers have found a distinct lack of extant garments from the 'French Canadian' period of the eighteenth-century. First of all, I have always had an issue with calling it the 'French Period', that term always made me think that the French were only here for a certain period of time, then after the French and Indian war, just disappeared. The French are still here in North America, and if you live in Quebec for any length of time, you also realize that some are still fighting that war...but I digress.

The French were here, and still are here, and have been here for a very long time.

Ok, so what are we looking at when we look for French Canadien dress from the mid-eighteenth century? There's not a lot of evidence in portraiture or extant garments, but the French in Canada were amazing records keepers. So there's a lot of written documentation of trade, wills, probate, contracts, all kinds of things. We also know the class level of most people in the French colonies. Armed with this information, and looking at art from France and North America in the surrounding decades, I can put together an idea of what my impersonation should look like.

And there will not be a French bodice, unkempt hair under a mob-ish cap, and exposed shift sleeves anywhere!

You see, I will be portraying a lower sorts woman. Probably from farm stock, hardworking, not a lot of money for personal material culture. I might be poor, but I am not trash. There's the thing, as I sit here, listening to the old-timers tell tourists that followers of the army were all prostitutes. I might be poor, but I'm not a fallen woman in need of clothing! (cue mental images of all kinds that I will never portray)
Look at this lovely painting by Chardin (1699-1779) of a kitchen maid. Now, this painting was done in France, of a French woman, and is from the first half of the century instead of mid century, but she is fully dressed! A kitchen maid! Then, if you look at the image I posted yesterday or the French Canadien couple from the first quarter of the nineteenth-century and see that they are also both fully dressed, you might get an idea of how very wrong going about in shift sleeves and slovenly looking is to my eye. Clothing is such an important marker of class and culture, just look at how scandalous the bikini was when it first came out! The designer had to hire prostitutes to model it, American women who wore it to the beach were arrested for indecency in the early days of it's existence. I have to think that decency played a role in how people dressed in the eighteenth-century as well, and if everyone around you, in the decades before and after the 'French Period', and the cultures around the French colonies, are fully dressed, maybe the French Canadiens were fully dressed too.

Ok, so there's my reasoning behind what I am up to with my new clothes. This painting by Chardin is actually the look I am after with my new clothes. The gown rebuild means there's not enough cloth for a full length gown, and Chardin depicts many women with this shorter length of gown. I also am not entirely convinced that what we are looking at is an unstructured manteau, but an actual gown. Check out those sleeves. That is a big marker in my books. Now, I may, or may not wear stays underneath my clothes, I haven't decided. I may go for a slightly less structured waistcoat, but it will be worn as underwear, not my outer garments. For now, I am building the gown to be worn over stays.

Ok, so construction photos...
This is the other panel of skirt from mum's old gown. I cut it lengthwise so that I would have two front panels, roughly 45" wide (I just cut it, I haven't actually measured, so roughly). The gown's skirts are shorter, because mum was shorter than me, so I knew I would have to do some piecing. I also want to do a 'grown on' robing, not a separate piece, as I am making a sacque from an earlier decade, and there were still elements left over from a fully draped garment such as the Mantua.
So, I added the shoulder strap to the bodice lining, and a big chunk of wool pieced to the top of that front panel so I could fold back the robing.

Next, I carefully folded and pressed the robings in place. Because there is a slight curve to the shoulder strap, I made sure I also curved the robings with the steam iron. Yes, there is a slight chunk missing from the top of the shoulder strap, it's above the seam line though, so I will have no problem stitching the wool in place and not having a chunk missing from the shoulder of the finished garment. I cut the excess off the end of the robing later, just before I stitched it to the back shoulder.

Then, I folded the robing back, so that my seam allowance was underneath, and then basted the robing along that V fold. You can see my little blue stitches in the second photo.

Quick note, I finish the edges of my linings before stitching them in place, so turning up the bottom edge, pressing all my seam allowances properly, all that stuff. It really does make a difference to the overall finished product. The steam iron is your most important tool in the shop, use it. Ok, these photos show the lining pinned in place along that basting line, and then stitched down along the front edge. My stitching goes through to the right side of the bodice along that basting line for the robing. You won't see it when I am wearing the garment though, because it's under the robing, but the extra line of stitching gives support to that front edge. It's firmly nailed down.
The finished front edge.

Just before I finished for the day I stitched the back shoulder seam, and side seams. I then slashed into the waistline and put it on the dolly to drape the side pleats and see how things were progressing. 

This is where she will sit for a few days. I now have to switch gears and prepare for a weekend of Burn's Night activities at the Mess. Yes, we will be there both evenings, so I need to dig out all my tartan clothes and get them ready for wearing. There will be alterations, since I haven't had them on in well over 15 years...

It's a good thing I know how to sew!


Tuesday 15 January 2019

Stepping back in time this year.

If we are going to play with Ticonderoga this year, we will have to step back in time a bit, as the site will be working on interpretation of the French and Indian war period. We will also shift our culture slightly, from my family's history to Pierre's, as we go from being loyalists to portraying a French soldier and his wife. Kit that we wear for Revolutionary period events just won't be appropriate, given that it is almost 25 years later, and a different culture. So this winter, I am building some new pieces of kit, pulling out old kit that we used to wear to Louisbourg, and seeing what pieces are needed to fill out our interpretation.


Truth be told, I have not been impressed with the clothing worn by many people portraying French Canadiens or Acadiens in Canada. I have grown weary of unbuttoned waistcoats, shift and shirt sleeves exposed, sloppy stockings, and messy, unkempt, and uncovered hair. I refuse to believe that Pierre's ancestors were as slovenly as modern day interpreters make them out to be, especially given how 'fashionable' modern French Canadians tend to be! The above image may be late in the 18th-century, but it shows impeccably groomed people, even if they are also the typical farming class that is widespread in French speaking Canada. The modern interpreter looks nothing like this! I won't post a photo, because I don't want to embarrass anyone personally, just do a quick google search and you will understand, if you haven't already had first hand experience. Let's just say, I am going back to basics and doing my own research. Fort Ticonderoga requires a fair degree of accuracy in kit, so I know my research won't be wasted time.

Pierre's kit will be fairly straight forward, build 'this' particular uniform, and be the same as all the other soldiers at the fort. I have to purchase the materials to make the uniform from specific retailers and build it according to extensive guidelines laid out by the fort. For me, an easy task, since I really do enjoy extensive guidelines and understanding what is expected. Even better in my books would be the ability of purchasing a kit to make the uniform, so that I know I have exactly the same fabrics as the other soldiers. Fingers crossed that this is an option.

In the meantime, I am working on some new pieces for myself. I hauled out my 'old brown sacque' from storage, and am still happy with it. Being a linsey, it will be great for summertime wear. It's now gotten some really great heritage too, since it was my only gown for a good number of years. To round out that outfit, I will make a couple of new caps, possibly a new pinner apron (I'd love one in blue), and I have to re-thread my cross on a length of black silk ribbon. For winter or shoulder season though, I need some warm clothes. Since it is always cold in Louisbourg, this will not be a waste of my time, as these pieces will get wear in the future too. I am taking this opportunity to rebuild a gown of my mum's into something that will fit me. Taking it apart, and re-cutting pieces to build into something appropriate for me and the historical period I am wanting to recreate. 

Yesterday, I pulled out my gown pattern, a paper pattern traced from a bodice draping my friend Jenny did for me back in September. A bodice is a fairly straight forward pattern throughout the eighteenth-century. With minor alterations, it can take you from an early sacque, to a late period round gown.
I started with the back lining sections. Instead of seaming the centre back seam straight down to the waist, I added on a facing which was turned back into a double fold from the shoulder blade line downwards. This was hemmed in place with a slip stitch. I also boned each side of the opening with 1/4" nylon zip strap boning backstitched into place. Then I worked the eyelets that will tighten the sacque bodice to my body. Once this was finished, I laid the back lining wrong side up on my work table, and pleated the fashion fabric to the bodice. 
I followed an extant gown pattern from a reputable published book (you know the drill, Sharon Burnston, Linda Baumgarten, Janet Arnold are all reputable resources). I had to alter the pleating pattern slightly to accommodate the amount of fabric I have, I am rebuilding one of mum's gowns after all...that fabric is close to 30 years old...it's all I have. I made sure that my pleats were even and square with the bodice lining, and marked how far down I wanted them stitched. Then, with a running back stitch, 1/8" in from the edge of the fold, I stitched the pleats to the bodice lining. I do this flat on my work table so that the weight of the cloth is supported...that, and for a long period of time, I did not have a dress dolly, and I suspect many sempsters also lack a dress form, so I also teach this way.
The single thing that many people miss when making a sacque is the line of basting that runs underneath the pleats to hold the fabric to the lining all the way down to the waist. If you miss this important line of stitching, you will look like you are wearing a sack instead of a sacque, the bodice will not hug your body, and the pleats will not spring forth from the shoulders. To do this, once the tops of the pleats were stitched, I moved the bottom of the pleats to the side, and ran a running back stitch following the line of pins.
Voila! The finished back panel, pleats stitched down, excess cut away (but saved for later piecing), and a good steam press to the top of the pleats. Today, I will tackle the fronts of the bodice.